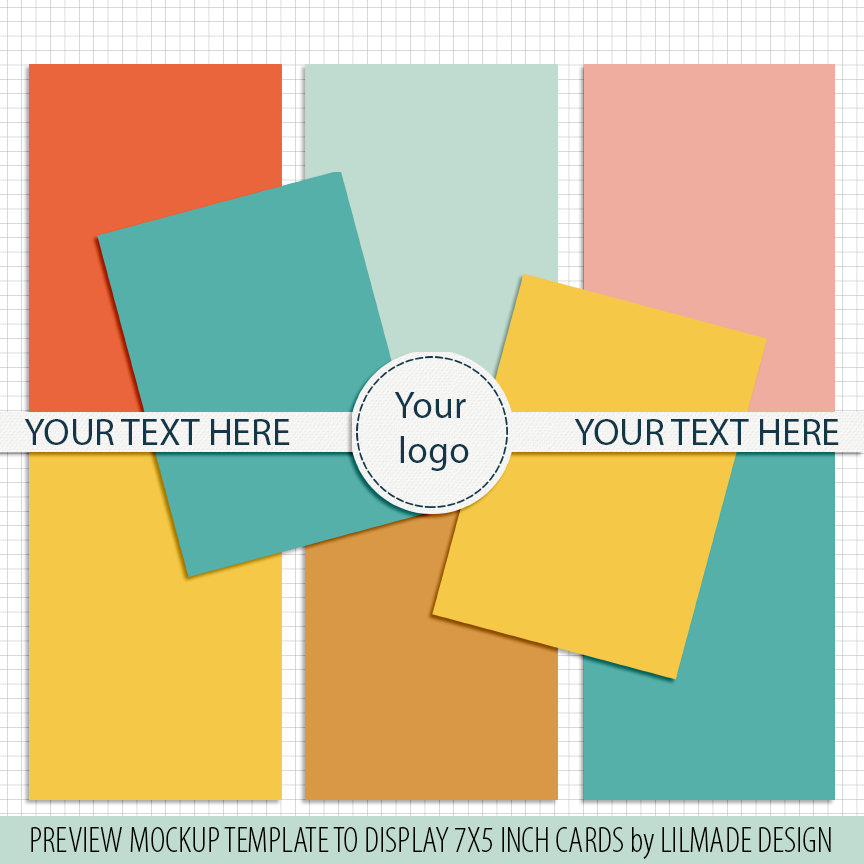
Mockup templates to make your own product previews
Mockup templates to make your product previews in a flash using the clipping mask feature in Photoshop.
This template works for 7×5 inch cards so it is perfect for pocket scrapbooking and for those of you who sell photo textures.
Each layer comes with a shadow style already applied and I also included an .ASL Photoshop layer style so you can use the same shadow settings on other projects. Guides will ensure accurate layer placement even if you move the layers accidentally.
Tip: if f you scale your original card designs down to 70% they will fit right in the clipping mask, that makes it super easy to work with this template.
To use this template you will need:
- Photoshop software. Please check for compatibility before purchase.
- Basic knowledge of how to work with layers and how to resize an image.
- High resolution images: the images you want to show using this template must measure 7×5 inches at 300 dpi to avoid pixelation and distortion. Low resolution images will not work for this template.
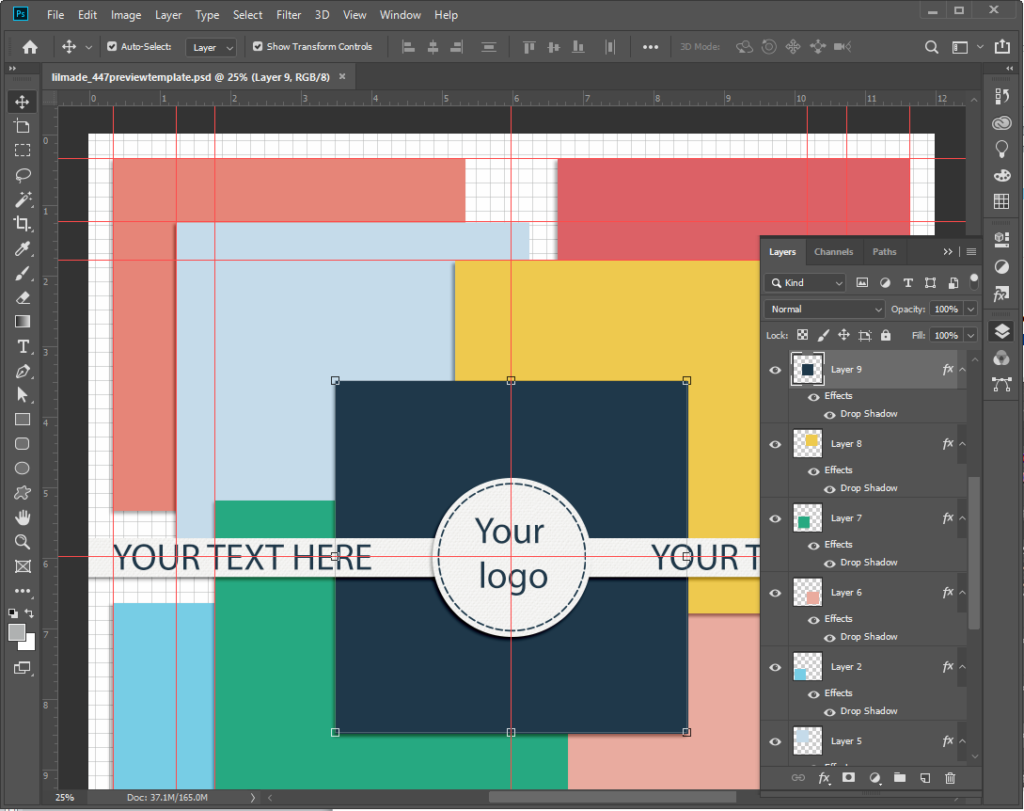
How to use this template
Is pretty simple! Open the template in Photoshop, and select the layer you want to change. In this case I’ve selected the layer # 9 (blue square).
Then, open the image file you want to place on the template, drag it and drop it right on top of the layer you want to modify
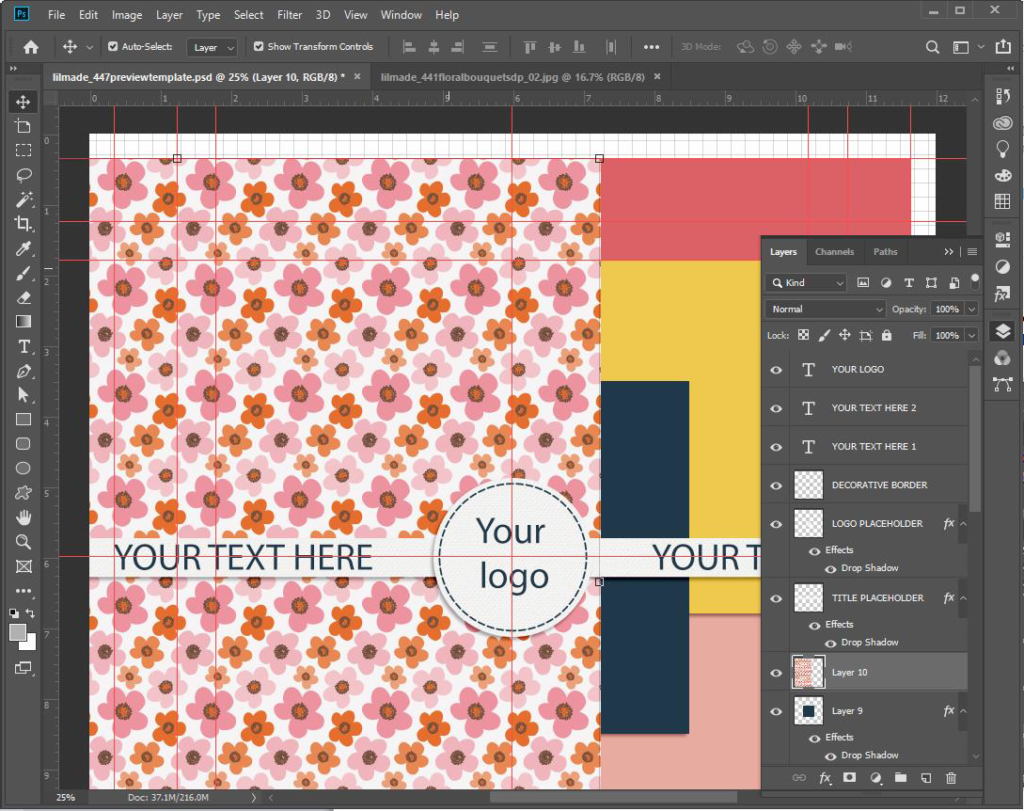
To clip the digital paper to the layer, select the digital paper layer, right click on it and select “Create clipping mask”. Your screen should look like this (the paper is clipped to the layer).
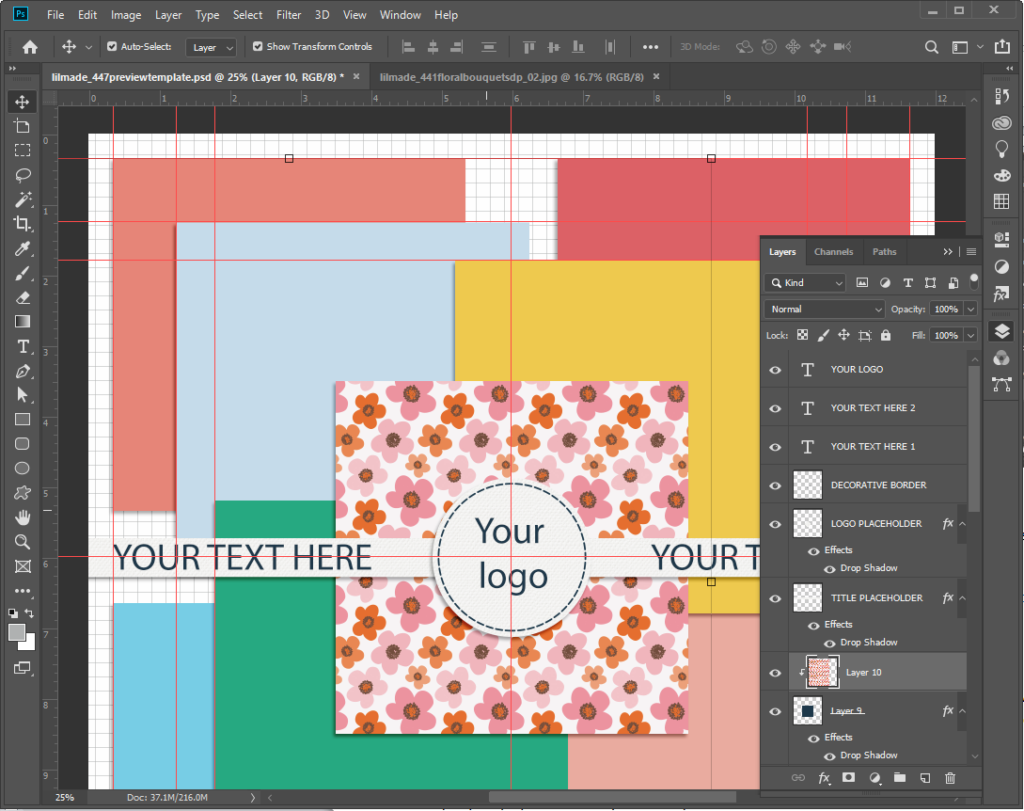
Meanwhile the clipping mask is active, move the digital paper to show exactly the part of the pattern you want to show and you can also resize and rotate the paper as you wish. When you are happy with the design, right click on the digital paper layer and select “MERGE DOWN” to merge the digital paper and the clipping mask.
Do the same with all the digital papers you want to feature in the mockup, flatten all layers and then resize it so that you can post it in your online shop.
I resize my 12×12 templates to the following sizes:
- 1025×1025 pixels at 72 dpi. For online stores that require large previews.
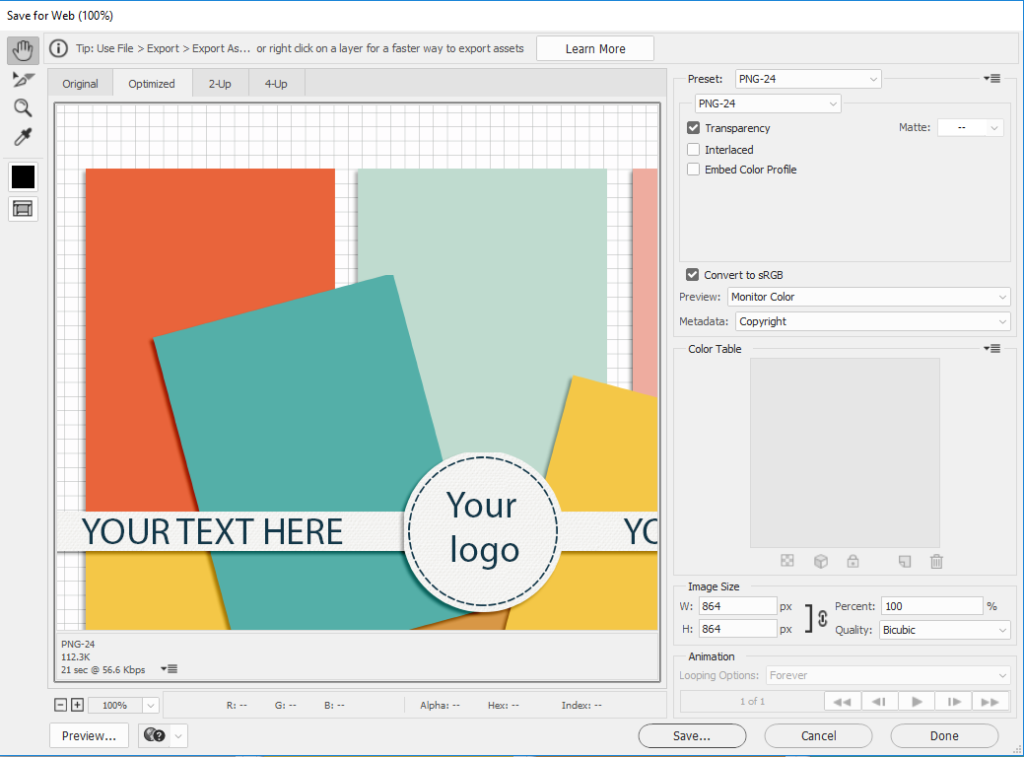
- 864×864 pixels at 72 dpi. This size works great on Facebook, Etsy and this blog.
- 600×600 pixels at 72 dpi. I use this size for Instagram, Tumblr, DigishopTalk and also for this blog’s featured images.
How to save the images as GIF
I’ve noticed that if I save my images as GIF from Photoshop, they look much better and crisp on screens. To save as GIF in Photoshop you go FILE/EXPORT/SAVE FOR WEB (legacy) or hit ALT+SHIFT+CTRL+S and then select PNG 24 / Check “TRANSPARENCY” box and “CONVERT TO sRGB.
There may be a better method to save images, but this is what works for me.
I hope you find this post useful! Let me know what you think!
Happy crafting!!